Outdoor Banners & Signs |
|

50% off Flag Banners only $44.50*
50% off 2’x6’ Standup Banners only $34.50*
30% off 3’ x 5’ Vinyl Banners only $55.30 each*
30% off 2’7"x6’7" Sleeve Banners only $83.30* each
30% off 2’x6’ Sleeve Banners only $69.30* each


Church Window Banners |
|

Church Window Banners allow stunning graphics on one side and a clear, unobstructed view from the other. Virtually all glass surfaces now have the potential for welcoming visitors, promoting ministry involvement, and inspiring church members with God's word.
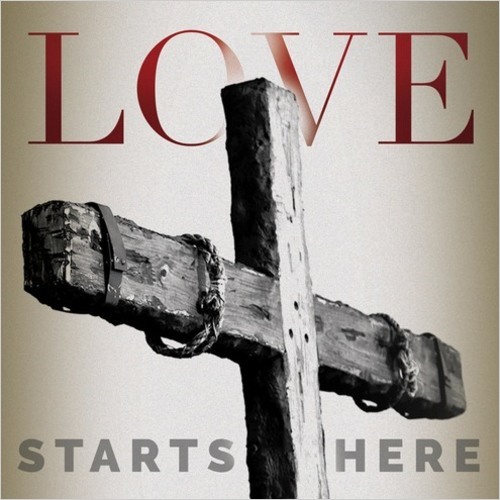
One of the most versatile tools available, window banners can be used in a variety of ways around your church: To invite and welcome guests, provide direction around your building, update your church’s décor and communicate your mission and vision. The perfect size for signs around your building, the 3’x 3’ square window church banner can be hung on a window, wall or from the ceiling. This "As Seen" banner is printed exactly as you see it here, finished to your specifications, and shipped to you fast.
Tools Needed:
Two people, MASKING tape (scotch tape may damage material), squeegee, razor blade or Exact-o knife, glass cleaner, straight edge or yardstick, and paper towels.
Preparation:
Using glass cleaner, clean windows thoroughly and allow to dry. Read installation instructions carefully. Do not use water or installation liquid to install this product. For best results, we recommend
outside temperatures be over 55 F with low humidity.
Step 1:
Starting from the top of the graphic, pull away 1” of the paper backing, exposing the adhesive. Fold down the exposed backing to prevent it from curling back up.
Step 2:
Place the exposed adhesive onto the window and squeegee over it slowly with a smoothing tool such as you would use for wallpaper. DO NOT remove the remaining backing. Place a piece of masking tape across the
top of the applied decal to hold it in place.
Step 3:
Have your partner lift the graphic while you gently remove a section of the backing, exposing about 6” of the adhesive. Pull off the backing slowly, as Church Window Banners can tear from the side. Do not pull off
the entire backing.
Step 4:
Slowly and firmly squeegee the exposed film to the window. Using long strokes, squeegee both vertically and horizontally across the window, continuing to install 6” of material at a time. Take your time to avoid
creases and bubbles.
Step 5:
Once the film is in place, squeegee over the entire piece in long strokes, starting from the center and working outward. Push any bubbles or creases toward the outer edges.
Step 6:
If you are covering the entire window, follow along the window edge with a razor blade to trim away excess material. Place a straight edge against the side of the window to use as a guide. Follow once more around
the edges with a squeegee.
Perfecting Your Window Banner:
Most bubbles or creases, (especially near the edges) can be pressed outward with a squeegee. If one cannot, use the corner of a razor blade or a sharp pin to puncture the bubble or crease.
Then, gently use your finger or a squeegee to press down the material and remove the air. Be careful and work slowly to avoid wrinkles.
A church banner from Outreach is one of the most versatile tools you can use around your church – there are so many sizes, shapes and materials to choose from. Outreach provides the highest quality materials and graphics too.


